Storing your meals the right way keeps them fresh and safe, so you can
Read MoreStaying healthy
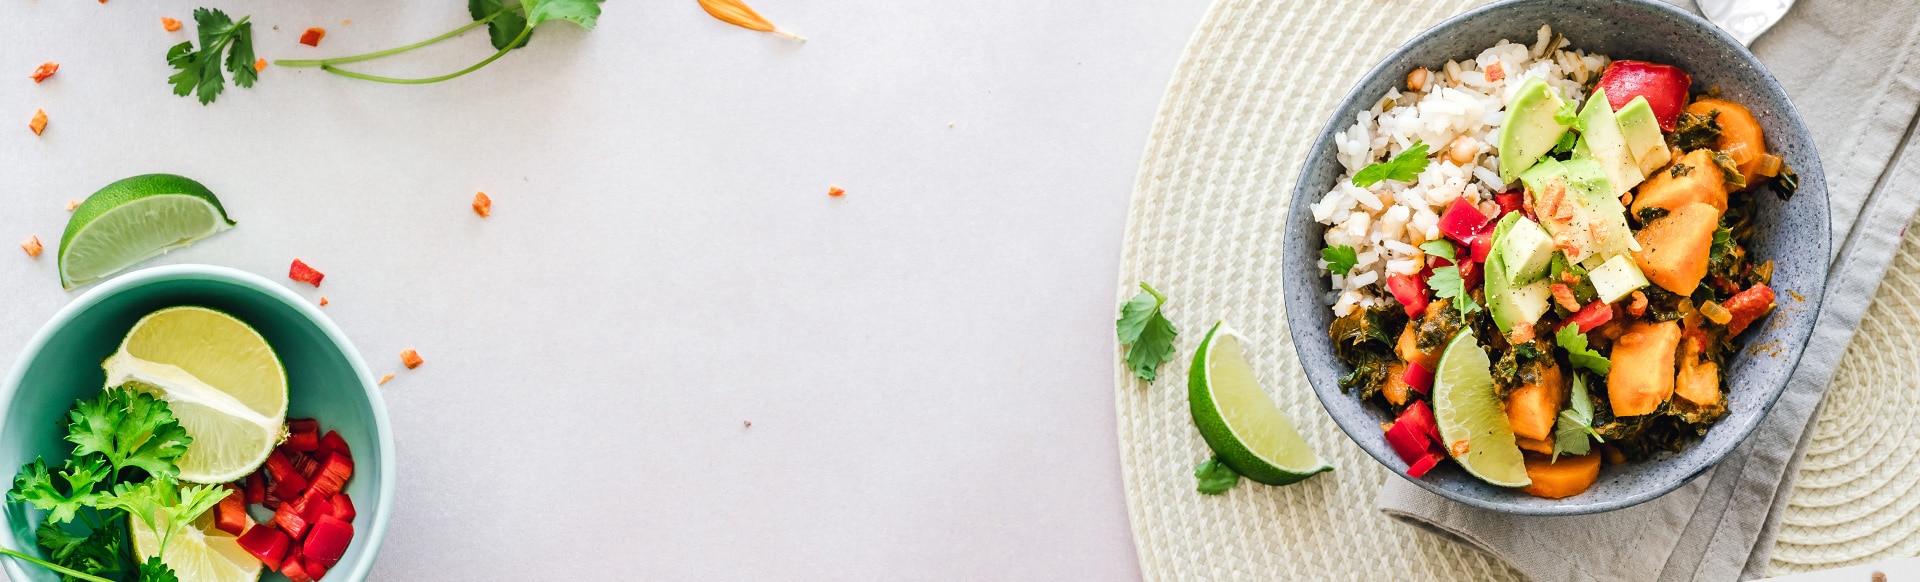
is a lifestyle!
Follow our blog to keep in touch
with the latest healthy food news and trends
More people are turning to clean eating as they see how it can improve
Read More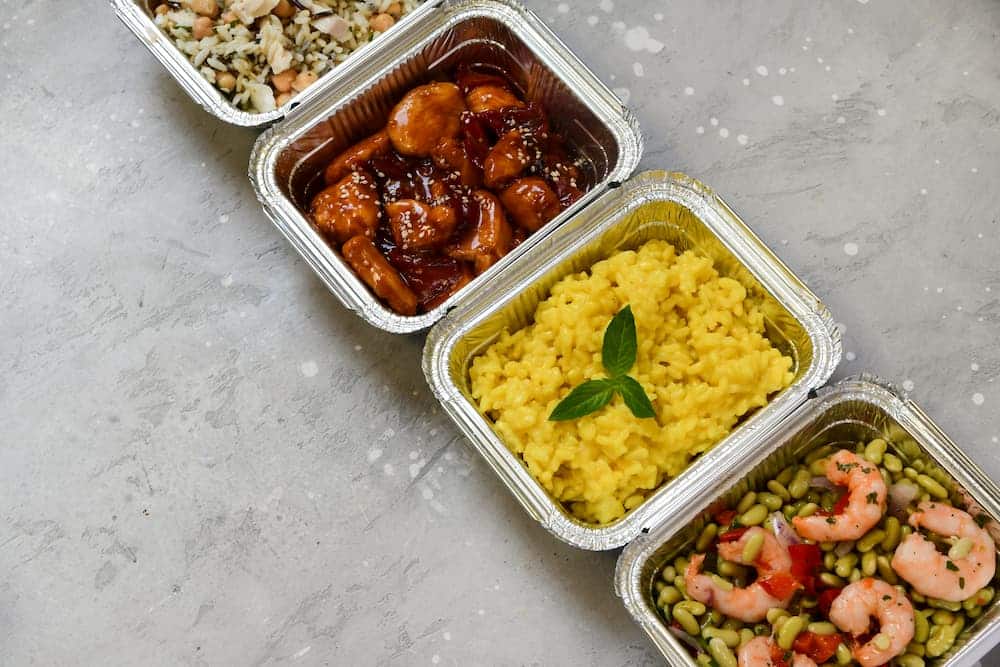
Athletes understand that peak performance isn’t just about time spent in the gym. Nutrition
Read More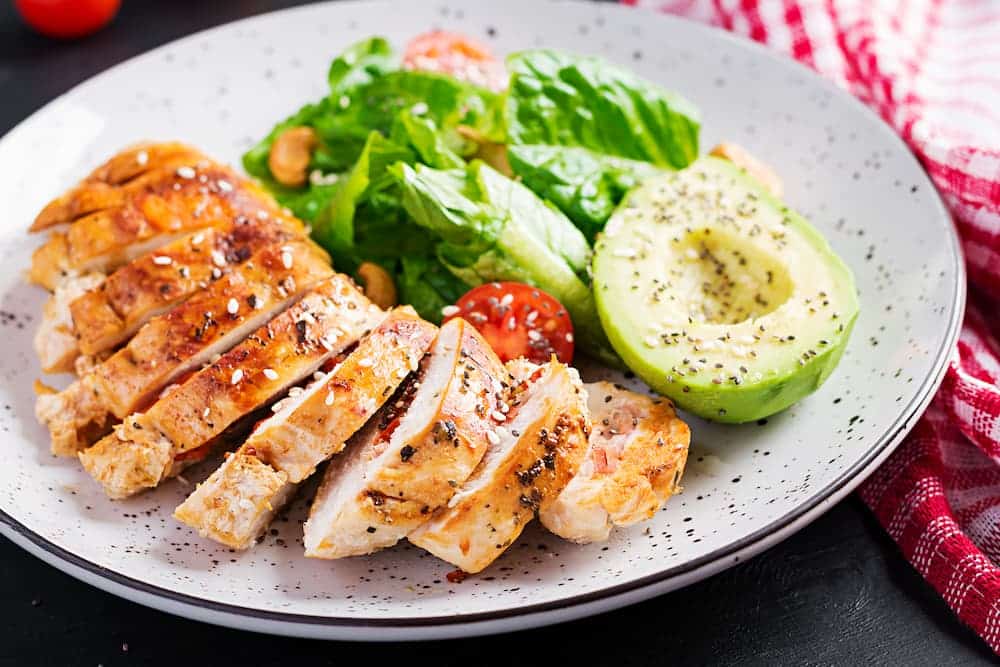
It can be hard to find a lunch that keeps your energy up, especially
Read More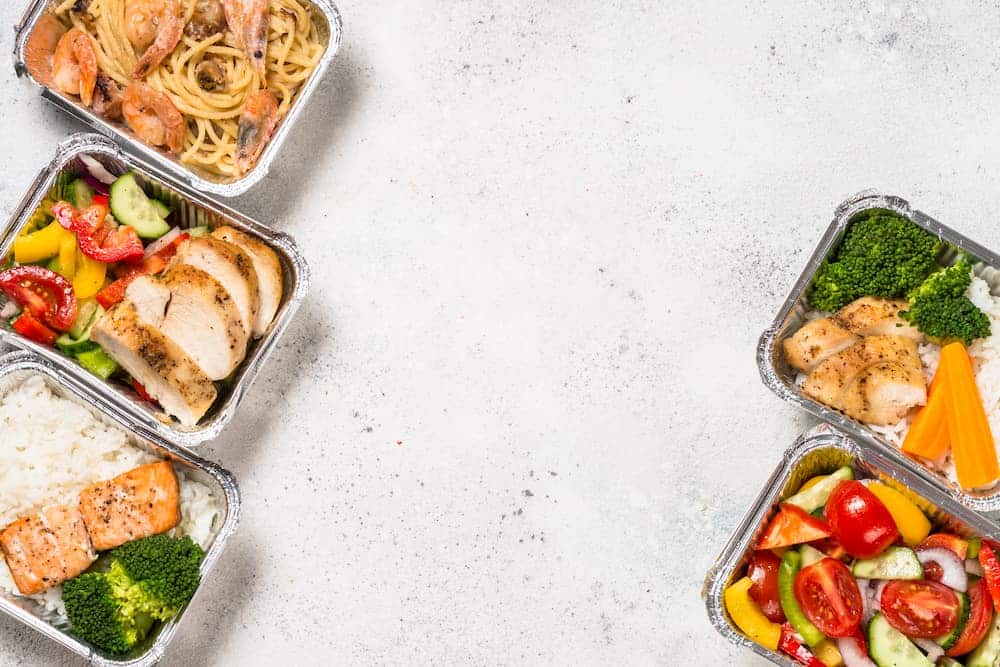
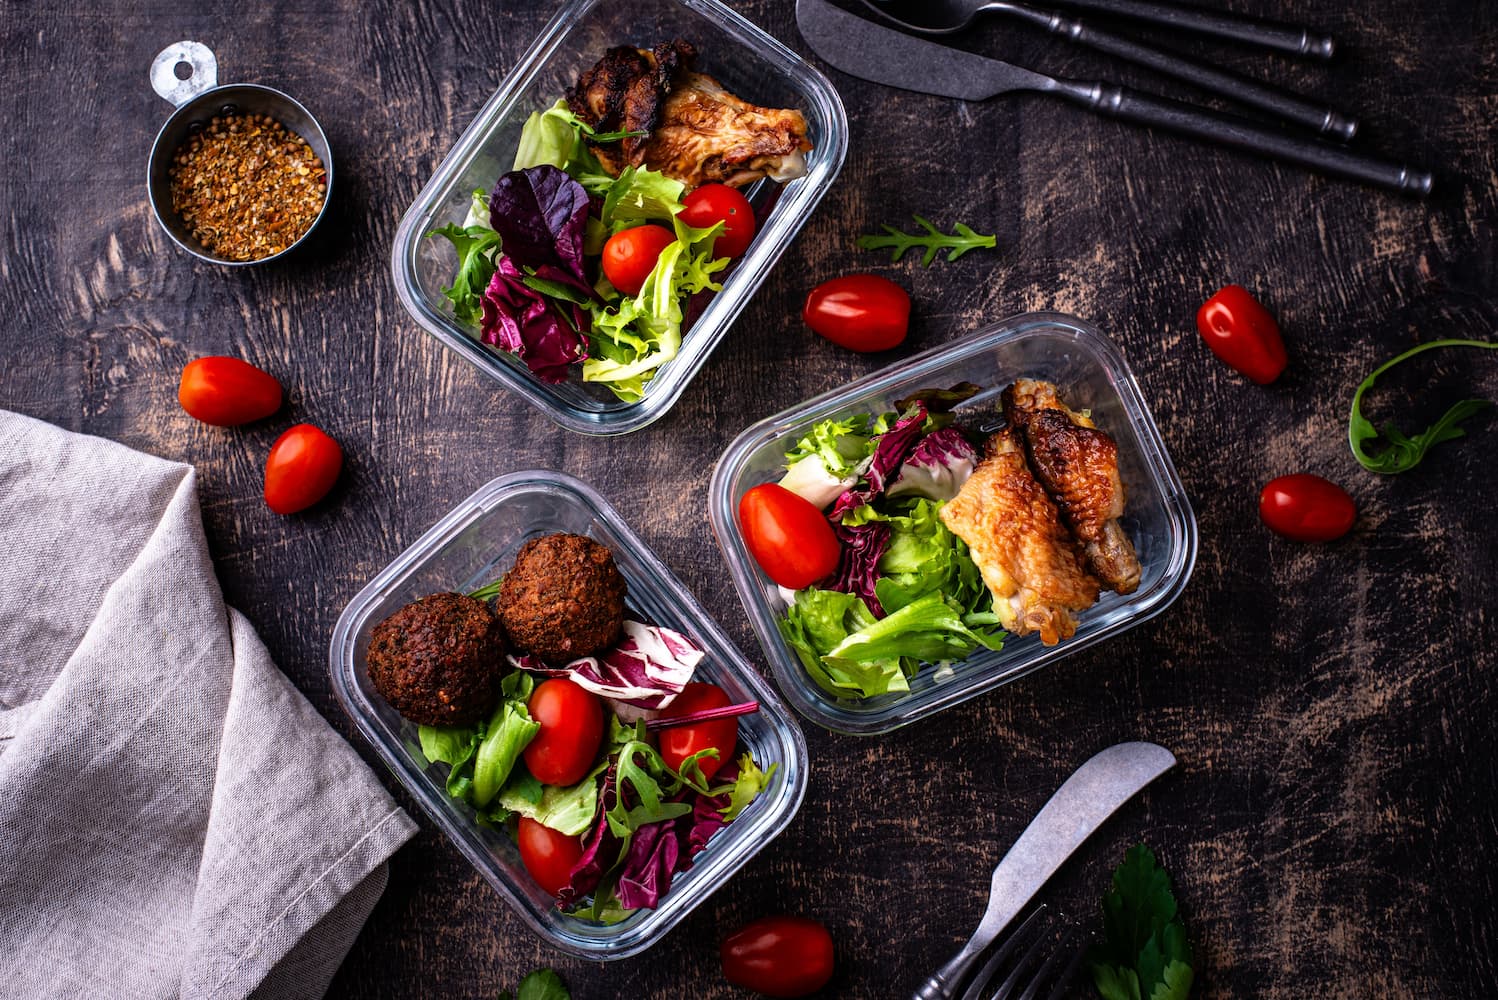
Losing weight can be challenging, but a well-structured meal plan can simplify the process.
Read More
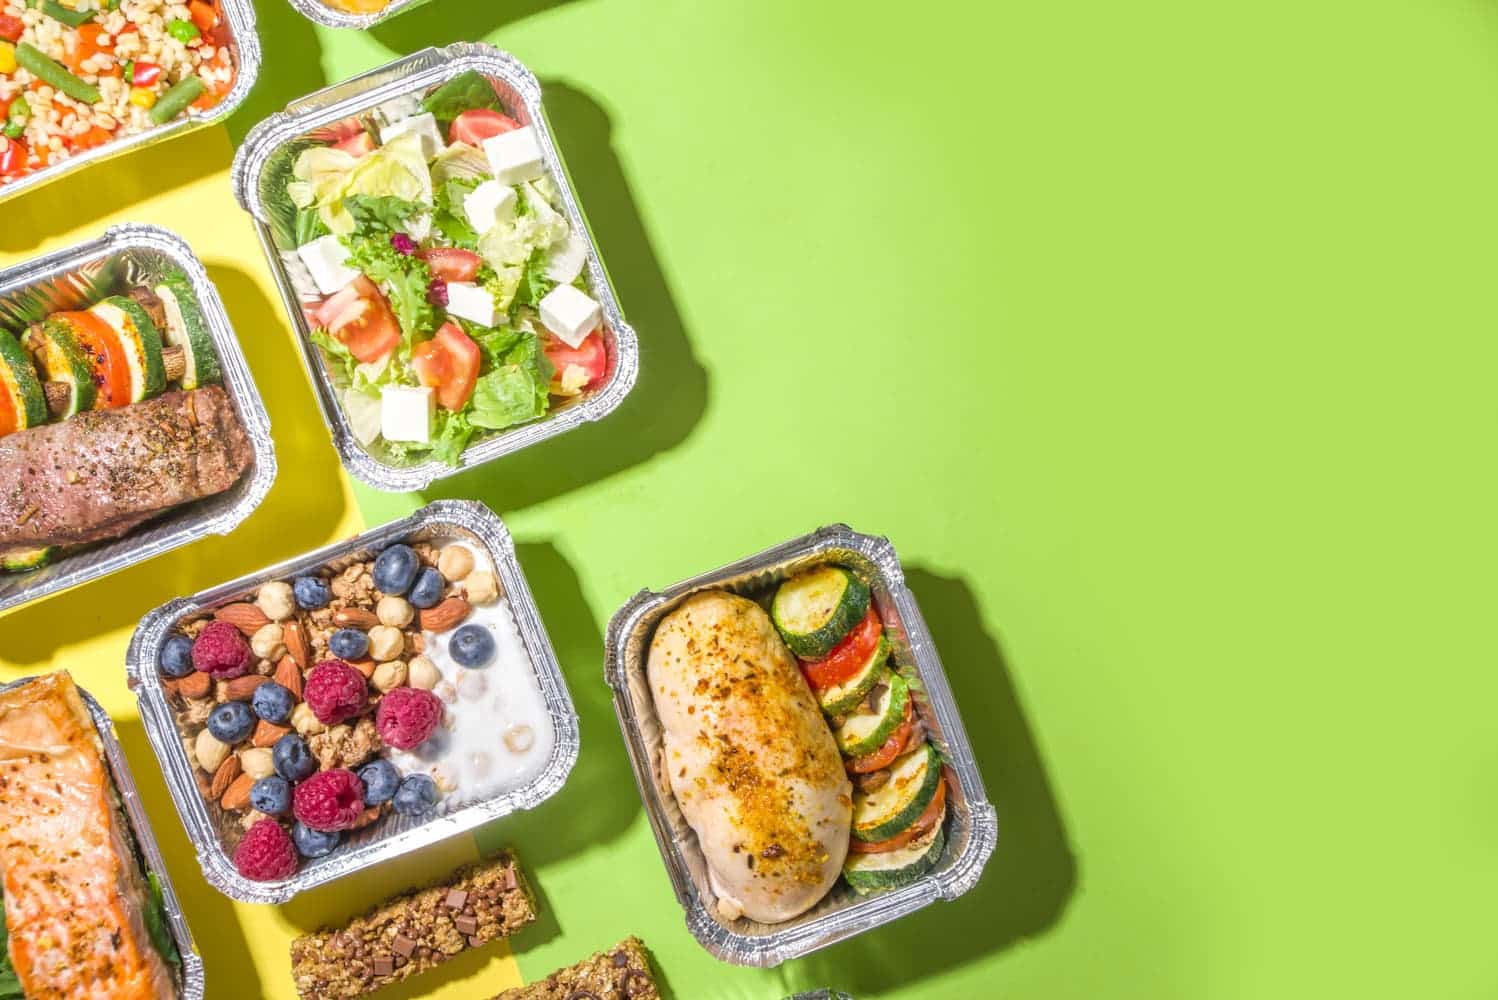
Meal prep is becoming a go-to strategy for simplifying daily life and boosting well-being.
Read More
Miami’s high-energy lifestyle demands meals that deliver sustained fuel without the crash. Between demanding
Read More
Miami’s vibrant energy, year-round sunshine, and active culture demand nutrient-packed meals that fuel both
Read More
Palm Beach’s wellness culture, sun-drenched beaches, and upscale dining scene have driven a surge
Read More
Florida’s unique ecosystem and growing commitment to sustainability make eco-friendly meal prep delivery services
Read More